Project 1: MyHeritage Account
Goal 1: Set Up Your Account and Tree

Goal 1: Choose a MyHeritage account and start your tree.
Note: If you are setting up a Church of Jesus Christ Partner account, skip ahead to Choice C below.
Choices
A Create a MyHeritage account and start your family tree.
- Go to the MyHeritage site.
- If you already have a paid account with MyHeritage, follow the steps in the article below to create your online tree; then skip to Goal 2 in this Project.
 MH—How do I create my family tree on MyHeritage?
 - If you are creating a Church of Jesus Christ Partner account, skip ahead to Choice B below.
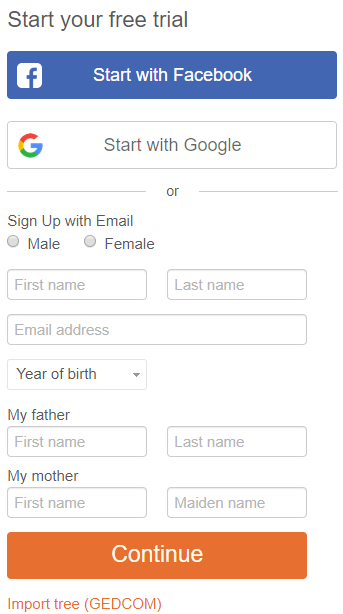
- Fill in the "Start your free trial" dialog (valid for 14 days). To set up your trial account, you can use Facebook or Google, or you can specify an email address.
- A GEDCOM (Genealogical Data Communication) file is a text file with basic information about people in a family tree. It can be created (exported) from an existing family tree, and then imported to a new tree to populate that tree. If you have an existing family tree database and have made a GEDCOM file of it,
a) Click "Import tree (GEDCOM) at the bottom of the dialog;
b) Click Choose File;
c) Navigate to your GEDCOM file; and
d) Click Open. Then skip ahead to Goal 2. - Click Continue and then fill in the payment information that will be used if and when your account is converted to a paid account. Choose a password and confirm it in the dialog.
Note :

Resources
- Read this article for an overview of the types of trees you can use on MyHeritage.
 MH—Different Types of Family Trees
B (Optional) Create a free Church of Jesus Christ Partner account.
- Go to the Partner Access page on FamilySearch.
- Click Join for Free below the MyHeritage logo.
- Sign in to FamilySearch.
- Click "Create Your Free MyHeritage Account".
- In the Account Creation page, fill out fields (including email and password) and click Register.

