1: Gather Your Records
2: Gather Records from Others
3: Interview Relatives
4: Create and Edit Stories (AN)
5: Prepare Uploads
6: Upload Photos (AN)
7: Manage Gallery Items (AN)
![]() Translation Tips
Music
Translation Tips
Music

![]()
Project 3: Docs, Stories and Photos
Goal 7: Manage Gallery Items
Goal 7: Manage Media Gallery items your tree.
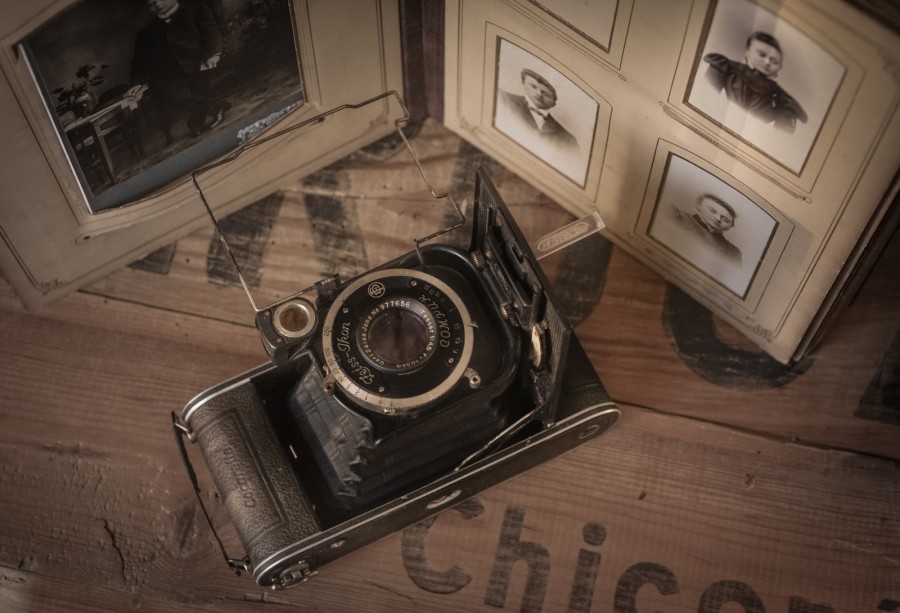
The Media Galley is where you can view and manage the photos, stories, documents, etc. in your tree.
Choices
A Use the "All Media" tab.
- Click the name of your tree (upper left) and select Media Gallery. All media items are displayed, arranged from newest addition to oldest addition. The default tab is All Media.
- Hover over an item to see the date of addition to the Gallery.
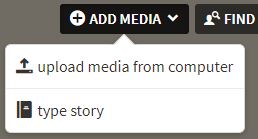
- To add an item to the Gallery, click Add Media (upper right) and select "upload media from computer" or "type story". Note : Although there are Audio and Video tabs, audio and video files cannot be added in Ancestry at this time.
- To see all photos in the Media Gallery, click the Photos tab.
- Hover over an item to see the date of addition to the Gallery. If the item was originally submitted by another Ancestry user, that information is also included.
- To add an item to the Gallery, click Add Media (upper right) and select "upload media from computer" or "type story".
- Click another tab—Photos, Stories, Audio, or Video—to see items by media type.

- * Good: View two photos and use any four of the steps listed in this Choice.
- * Proficient: Same as Good, using any six of the steps.
B View and edit information for Media Gallery items.
- In the Media Gallery, click the thumbnail of the item you want.
- Hover over an item to see the date of addition to the Gallery.
- Click an item in the Gallery to see more details.
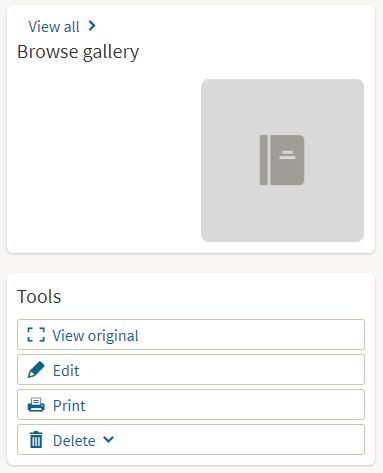
- To view other items in the Media Gallery, click the icon in the Browse Gallery section.
- If the item is a photo, you can click View Original to view the item at full size.
- To edit information for the item, click Edit and then fill in the information fields. When you are done, click the Update button.
- You can also click Print or Delete to print or delete the item.
- To attach the item to a different person, in this or another tree, follow the steps in Goal 3, Choice B.