
1: Basic Genetics and Research
2: Learn about DNA Testing
3: DNA Test Results (FMP)
4: Adoption and DNA
5: Help with Questions
6: Manage Account, Profile, Settings (FMP)
FMP Project 7
![]() Translation Tips
Music
Translation Tips
Music

![]()
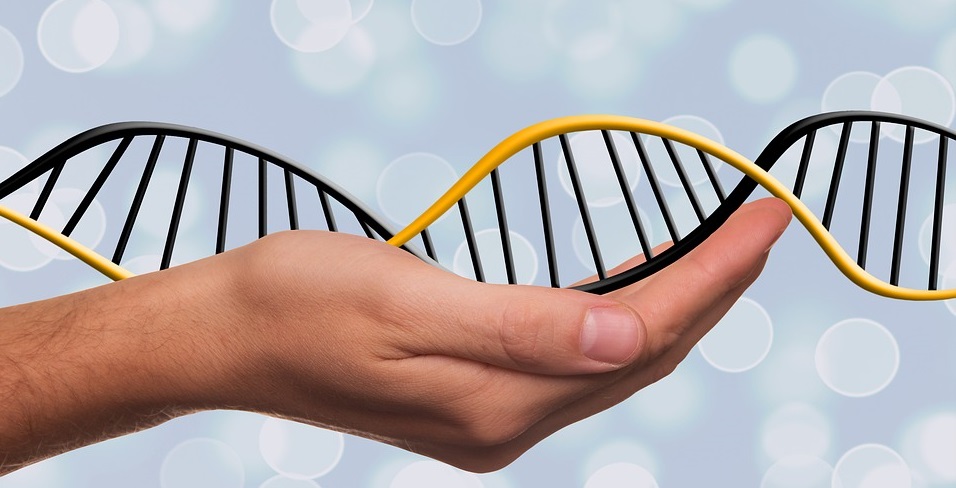
Project 7: DNA
Goal 3: Take a DNA Test and View Results
Goal 3: Take a DNA test from Living DNA and view results.
Choices
ATake a DNA test from Living DNA.
- Visit the Living DNA site for an overview of DNA testing.
- Order and take the Living DNA test. You can read instructions in the DNA kit that arrives or view them online.
- Send your DNA sample to Living DNA as instructed. You will be notified by email when the processing is done and you can view results online.
- In the upper menu, create an account and sign in to it. In the Profiles section you can click a completed test type to see its status.
Viewing Test Results
- To see your ethnicity information, scroll down to Ancestry. To see more details, such as map and overview information, click "View full breakdown" which has tabs for Map and Overview.
- You can scroll the map and zoom in or out. To see ethnicity percentages for locations, click "Recent Ancestry Map" (bottom of the page). You can then click a location to focus the map on it, and to display an overview page for the location.
- To learn more about the science behind the DNA test you took, click the Overview tab (top of the page).
BView Fatherline or Motherline information.
The Fatherline page displays results for paternal lineage (father to son), while the Motherline page diplays results for female ancestral lines.
- In the left panel click Fatherline. This page identifies your haplogroup (genetic population group of people who share a common ancestor on the patriline or the matriline) and haplotype (a set of closely linked genetic markers or DNA variations on a chromosome that tend to be inherited together), if available.
- You can click the following options on the page: Haplotype history, View coverage map (locations where people who currently share your haplogroup), and View migration map.
- In the left panel click Fatherline.
- In the left panel click Fatherline.
- In the left panel click Fatherline.
CView DNA match information.
- In the left panel click Family Matching. The Relatives tab displays a list of DNA matches, with username, predicted relationship, amount of DNA shared (centimorgans) for each match person, and the shared segments. The number of shared matches between you and the match person is also displayed.
- To sort the results, click the Sort by button and select "Genetic distance" (default), "Newest first," "Alphabetical," or "Has shared map." You can click the Info button (right side) for each degree section to learn more about the relationship.
- To view additional DNA relatives, if any, use the navigation buttons at the bottom of the page. You can also use the "Per page" box at the top to set the number of relatives shown on each page.
- Click a person's name in the list to display the following options:
- Send a message to a DNA relative in the list—With the Conversation tab open, scroll to the bottom of the page and type your message, and then click the Send icon. Messages you have received from others appear above the box.
- Block a user from sending you messages—click Block this profile and then click Yes. To unblock, click Unblock User and then click Yes.
- See common relatives you share with the selected DNA relative, below the message area.
- In the Relationship tab, see a chart showing ancestry relationships between you and the match person.
- In the Notes tab, type and save notes about the match person.
- In the Shared Map tab, view the ancestry map for the match person, if that person has shared the map.
- In the Shared DNA tab, view matching chromosome information. You can specify the minimum length (cM) for shared segments, copy segment data to your clipboard, or switch to a table view with data about chromosome segment length and starting/ending positions.
- In the Messaging centre tab you can read and reply to existing messages.
- In the Matchbox tab you can create Groups for DNA matches: a) Click New Group; b) Type the group name and select a colr; and c) Click Add group. To add members to the group, return to the Relatives List (Family Matching) and click "Add to matchbox" and then "Add." You can also remove a name, using the same dialog, or click "Edit matchbox" to manage names in the list.
- In the Multiview browser tab you can view shared DNA information for a Group you have created.
DManage DNA profiles and account information.
- In the left pane, click Dashboard to display your DNA profile.
- Click "Change selected profile" to switch to a different DNA profile you have created.
- To add a profile, click "Add another profile" and select Uplaod DNA or Activate DNA kit and follow the prompts.
- To change profile information, click Edit profile (upper-right of the main Profile screen).
- In the Details section you can edit name, sex, and birth information.
- In the Permissions section you can designate a manager for your profile or opt in or out of a research agreement with other companies.
- In the Family matching section you can opt in or out of family matching, provide a brief bio, set haplogroup information, and share your ancestry map.
- In the Sharing section you can enable sharing of your profile. Click the button to display a share link that can be copied.
- In the Actions section you can download your raw DNA data file or delete your DNA profile.
- To change your account settings, click the person icon (upper right) and select Account. On the Account page you can edit your name, email, and password; opt in or out of marketing emails; and permanently delete your DNA account.
- To sign out of your session, click the person icon and select Sign out.